Quick Start Guide
Welcome to ROOK, your trusted partner for effortlessly collecting and analyzing health data from an extensive range of sources. With our solutions, you can seamlessly integrate data from multiple devices using our user-friendly SDKs or APIs. The data you collect is readily accessible via webhook notifications or direct APIs queries. Additionally, ROOK's innovative Score, derived from the analyzed data, enables you to create detailed health profiles for your users.
In this guide, we'll show you how to quickly set up your integration with ROOK. By the end of this guide, you will be able to register users and receive their data through our webhooks and APIs queries.
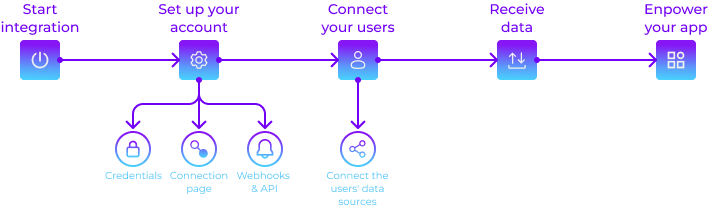
Integration Guide
This section provides a step-by-step guide to help you integrate with ROOK and start collecting your users' health data efficiently.
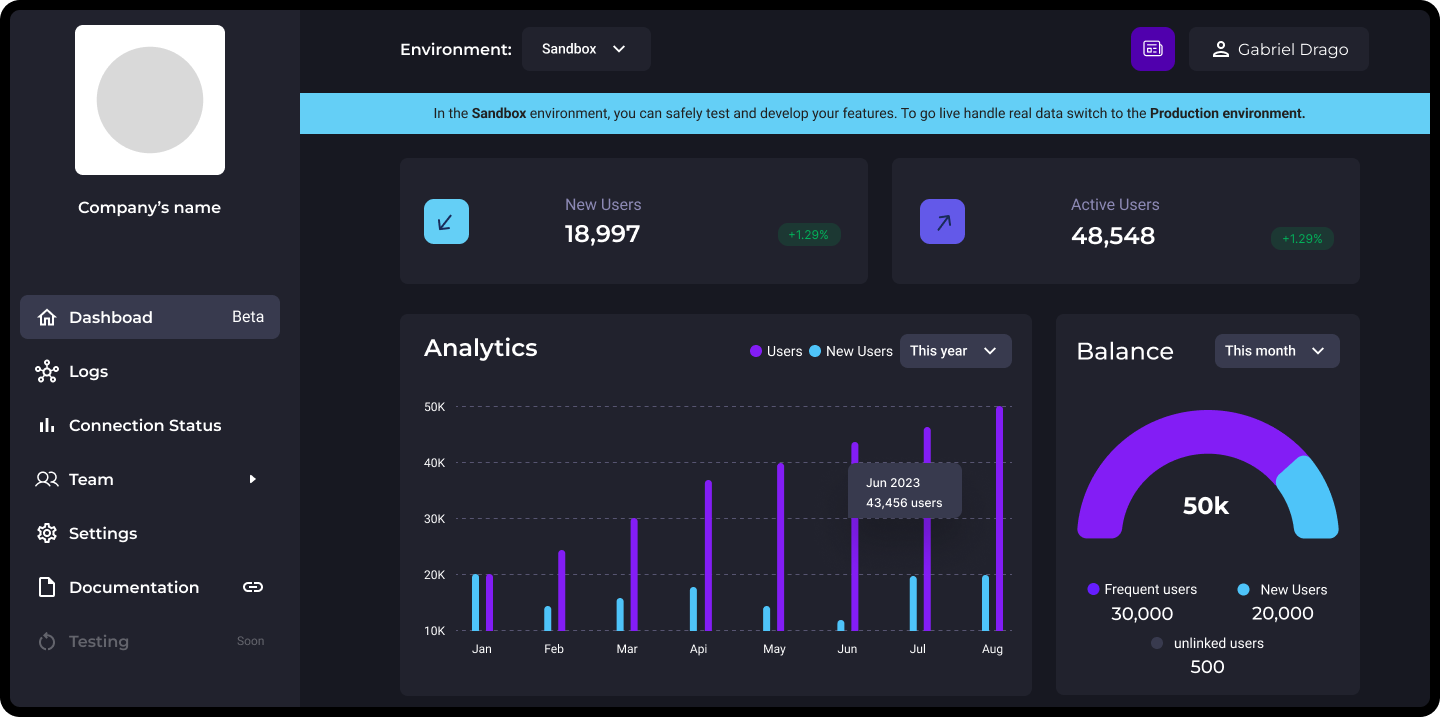
ROOK Client Portal
The Client Portal is your starting point for a successful integration of ROOK. Create an account and start setting up all necessary configurations to make the most out of your ROOK experience. For additional guidance, feel free to reach out to our Customer Success team.
Account Creation
To start using ROOK, you need to create an account on the ROOK Portal. You will be asked to provide specific details about yourself and your company during registration.
After completing all the required fields, you will have successfully registered and can proceed to configure your integration with ROOK.
Required data includes:
- Email address
- Password
- Company name
- Company industry
- Name of the person leading this project
- Role in the company
- Estimated number of users of your digital solution
- Company logo (optional)
Account Setup
Setting up your account is straightforward and involves three key steps.
Generate Your Credentials
The first step is to generate your credentials, which will provide you with your Client UUID and Secret Key.
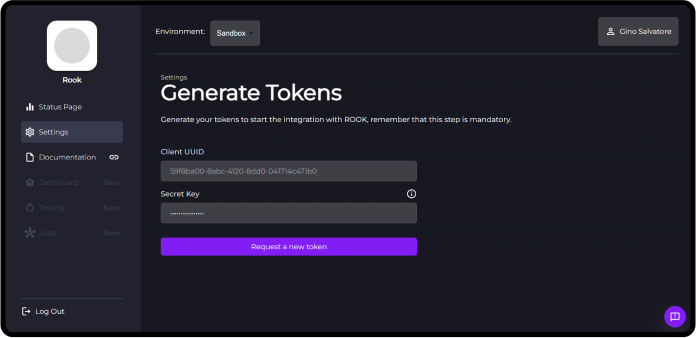
Your secret key can only be generated once and should be saved/downloaded to your computer. If you need a replacement or lose it, generating a new one is possible; however, this should not become a frequent practice.
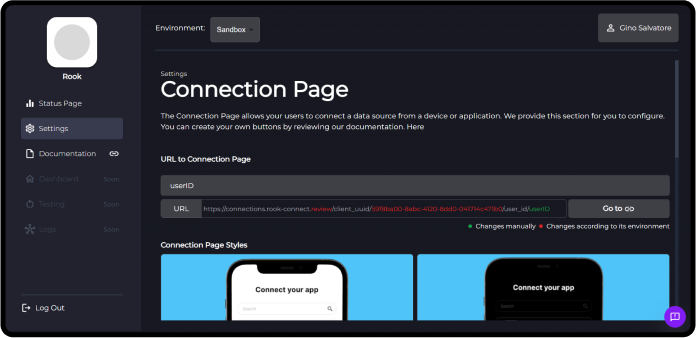
Configure Your Connections Page
This step allows you to customize your Connections Page in the following ways:
- Connections Page URL: Enter a URL to test and preview your Connections Page.
- Style of your Connections Page: Choose between a Light or Dark theme.
- Data Sources Available: Select the data sources you want to work with. These will appear on your Connections Page.
For this quick start, we provide a connections page intended solely for use in your Sandbox environment. You will need to develop your own connections page to enhance the user experience once your integration progresses to the Production environment.
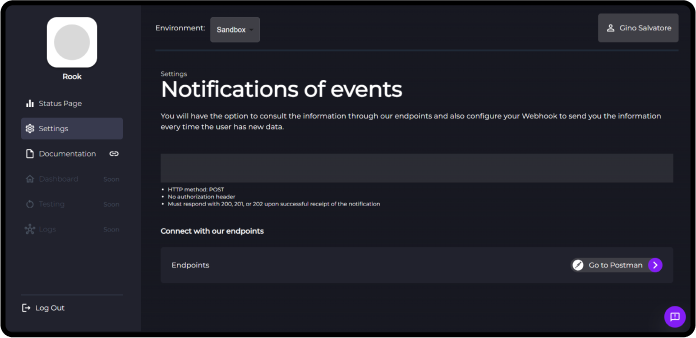
Setup For Receiving Webhooks & API Queries
Configure your system to receive data on new events and user summaries:
- Via Webhooks (recommended option): Receive instant notifications for new events and summaries as they happen.
- Through API Queries: Access event and summary data directly from ROOK using our API queries. Further details can be found in our repository.
Connecting Your Users
You are now close to completing your integration with ROOK. The next step is to connect your users via a Connections Page. You can either use the default one provided by ROOK or create a custom version.
ROOK Connections Page
To connect your users, embed the Connections Page within your mobile or web application.
Create Your Own Connections Page
Alternatively, you can develop your own web-based or app-based Connections Page. We provide endpoints to assist in this customization.

Data Reception
Once your users have successfully linked their data sources, you will automatically receive their data through our webhook each time new data is received. Alternatively, you can query this data using our APIs.
Empower Your Application
Congratulations! You are now ready to enhance your mobile or web application with ROOK's powerful data integration capabilities.